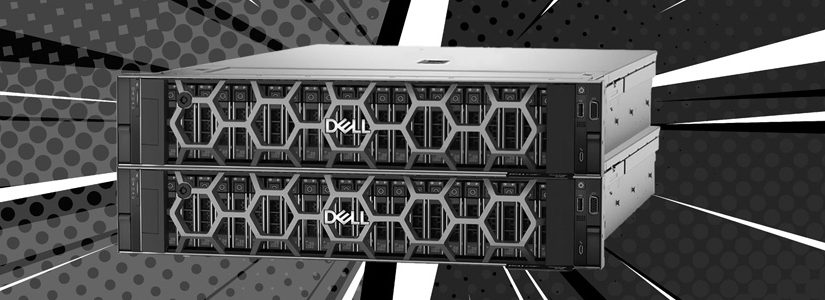
In a cloud-dominated IT world, bare metal servers still offer unmatched performance, control, and reliability—making them a top choice for businesses with high-performance needs or strict compliance requirements. Whether you’re building a hosting platform, deploying a gaming server, or running resource-intensive applications, configuring a bare metal server correctly is critical.
In this guide, we’ll walk you through the step-by-step process of setting up and configuring a bare metal server—from unboxing to full deployment.
What Is a Bare Metal Server?
A bare metal server is a physical machine dedicated entirely to a single tenant. Unlike virtual machines (VMs) in a shared environment, bare metal servers offer:
- Full hardware access
- No hypervisor overhead
- Predictable performance
- Better security and compliance options
Step 1: Choose the Right Hardware
Before anything else, determine your server requirements:
- CPU: Number of cores/threads
- RAM: Based on application workload (e.g., 32 GB+ for databases)
- Storage: SSDs for performance, HDDs for capacity
- Network: 1Gbps or 10Gbps based on traffic needs
- Redundancy: Dual power supplies, RAID support
You can buy from trusted providers like Dell, HP, or use a bare metal provider like OVHcloud, Hetzner, or IBM Cloud.
Step 2: Rack, Connect, and Power Up
For on-premise deployments:
- Rack your server securely in a data center or server room.
- Connect to power using a UPS for backup.
- Plug into the network via Ethernet (preferably with IPMI/iLO/iDRAC access).
- Power on the system and access the BIOS/UEFI setup.
Step 3: Configure BIOS/UEFI
Enter the BIOS (usually via Del, F2, or F10):
- Enable virtualization (VT-x/AMD-V) if needed.
- Configure boot order to USB or PXE.
- Set RAID mode if applicable.
- Ensure secure boot settings align with your OS needs.
Step 4: Install the Operating System
You can install a bare-metal OS using:
- Bootable USB
- PXE network boot
- Remote management tools (e.g., Dell iDRAC Virtual Console)
Popular OS options:
- Linux distros: Ubuntu Server, CentOS Stream, Debian
- Windows Server: Ideal for .NET, Active Directory, and MSSQL
- Custom hypervisors: VMware ESXi, Proxmox VE, or XenServer
Follow the installation prompts, partition disks as needed, and create the root/admin account.
Step 5: Initial Network and Security Configuration
After OS installation:
- Assign a static IP and configure your hostname: hostnamectl set-hostname your-server-name
- Update packages:
apt update && apt upgrade -y
apt update && apt upgrade -y- Create a new sudo user and disable root login:
youruser usermode -aG youruser
youruser usermod -aG sudo youruser- Set up firewall rules:
ufw allow ssh sudo ufw enable- Set up SSH key authentication for secure access:
-keygen ssh-copy-id youruser@your-server-ipStep 6: Install Essential Software
Install software based on your use case. Examples:
- Web Server: Apache or NGINX
- Database: MySQL, PostgreSQL
- Docker: For containerized applications
- Monitoring: Prometheus, Grafana, or Netdata
- Backup solutions: rsync, BorgBackup, or commercial agents
Step 7: Hardening and Maintenance
To keep your bare metal server secure and stable:
- Regularly update the OS and installed packages.
- Enable automatic security updates: apt install unattended-upgrades
- Monitor logs via
journalctlor a centralized logging solution. - Back up critical data frequently.
- Use tools like
fail2banto block brute-force login attempts.
Conclusion
Setting up a bare metal server requires careful planning and attention to detail, but it rewards you with full control, raw power, and reliability. Whether you’re hosting a high-performance app or building your own infrastructure, proper setup ensures long-term success and security.
If you’re not comfortable managing the hardware yourself, many providers offer managed bare metal servers with technical support and monitoring built in.


